
When you think of home organizing chores, you probably picture that nightmare kitchen trash drawer or closet filled with clothes you never wear. But now that you’re spending more time outdoors in warm weather, it’s high time you got your yard and gardening equipment organized as well.
But before heading to the home center to pick up a truckload of plants and soil, head to your own garage, flower shed, or anywhere your supplies hibernated this winter to refresh your memory of what you have.
“Before you buy anything new like tools, gloves, and planters, make sure to do your home shopping first, as there’s a good chance you already own it,” he says Jamie Novak, Author of “Keep This Toss That”. Because honestly, who can remember what was hidden in the garage last fall and whether you still have weed killers left?
To get you on your way this spring, here are seven clever ways to organize your gardening supplies so they aren’t a messy mess to fear when you take care of your plants this summer.
1. Perform a tool inventory
Photo by Organized Living
If you can, unload all of your gear from where it was kept and sort it into categories, like “Like”. If you have an empty work area, check your shovels, rakes, watering cans, and hoses to see what’s missing, what needs cleaning and sharpening, and what needs replacement.
___
Observe: How To Clean Garden Tools – Your Plants Will Thank You!
___
2. Hang up a breadboard
Photo by Wall Control
Are your tools a hot mess? Take this opportunity to put them away in an organized way, some hanging on a breadboard and others in baskets on a shelf.
Novak suggests a shoe organizer for trowels, spray bottles, gardening gloves and other small items.
3. Sort and store seeds
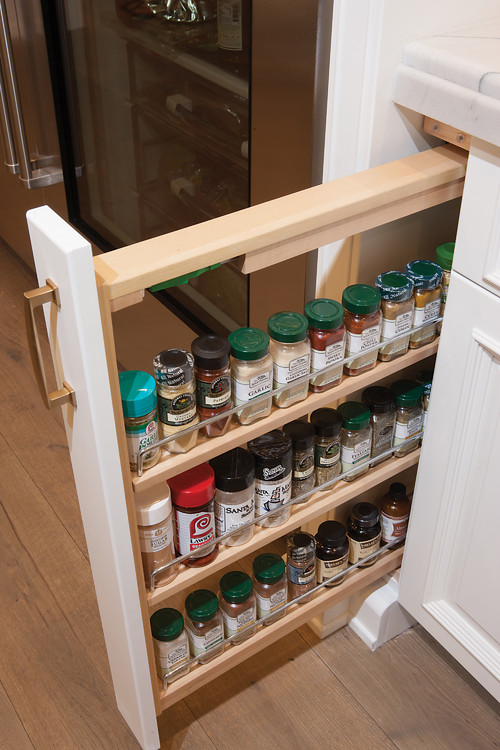
Photo of F1 cabinets and furniture
These spice jars aren’t just for cinnamon and nutmeg, says Novak. Once the spices are used up, they are great as storage containers for seeds. The same goes for the tiny cans that peppermints come in. Label each one with the seeds you have so you never confuse dill for mint again.
“Or organize your seed packets in a baseball card holder – like a three-ring binder with clear individual pockets,” she offers.
But whatever you do, “always store seeds in a cool, dry place, like the basement, so they’re ready to be planted,” he says Chris Lambton, Pro-gardener and co-host of HGTV’s “Going Yard”.
4. Clean and sharpen garden tools
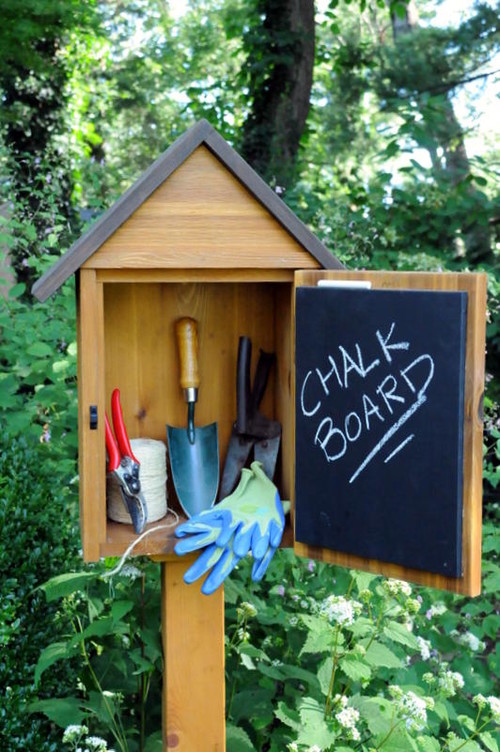
Photo by Teracottage-Limited Edition Artisan Sheds & Such
Blunt tools don’t cut into the soil so don’t start sowing until your edges and blades are cleaned and sharpened.
Novak suggests wiping a piece of wax paper along the tools (it will clean them and prevent rust) and put aluminum foil on the edges to sharpen them.
Lambton recommends storing garden tools knife-side down in a bucket with a mixture of sand and mineral or baby oil. (Try a ratio of 3 to.)
“This method helps fight rust and makes sure there aren’t any tools in the elements until you’re ready to plant,” he says.
5. Set up potting soil
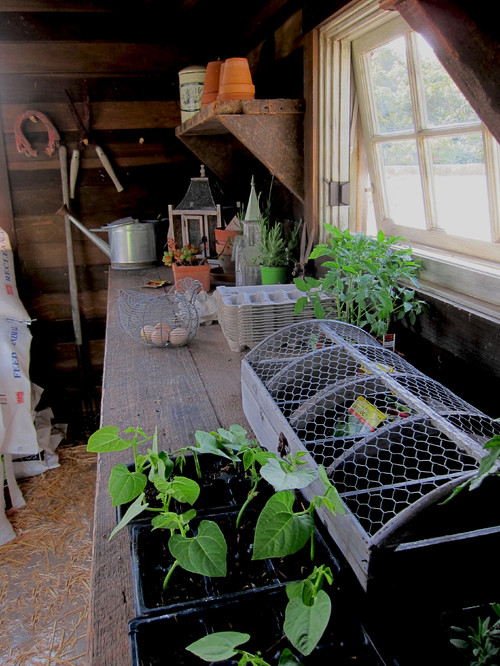
Photo by Santa Barbara Home Design
Serious green thumbs indicate a special place for storing garden tools and bins. However, if an entire shed isn’t empty on your property, you can try co-opting a small section of the workbench in your garage. You can also buy potting soil or use one from an old bar cart, dresser, TV tray on a table, or bookcase.
6. Make a tool bag
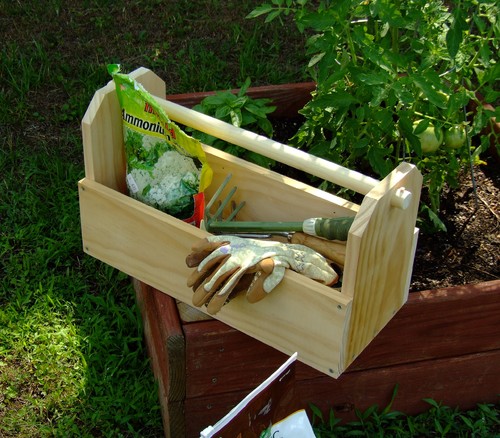
By Chris Hill Pelham
Would you like to be smaller than potting soil? The solution is a garden caddy.
Whether it’s an official bag with roomy pockets or a DIY version made from a basket, plastic bucket, or scraps of wood, this cool catchall is a great way to have your most-used tools ready. Stock your portable garden organizer with a pair of gloves, fertilizer spray, knee pads, hand rake and trowel.
7. Align long handles
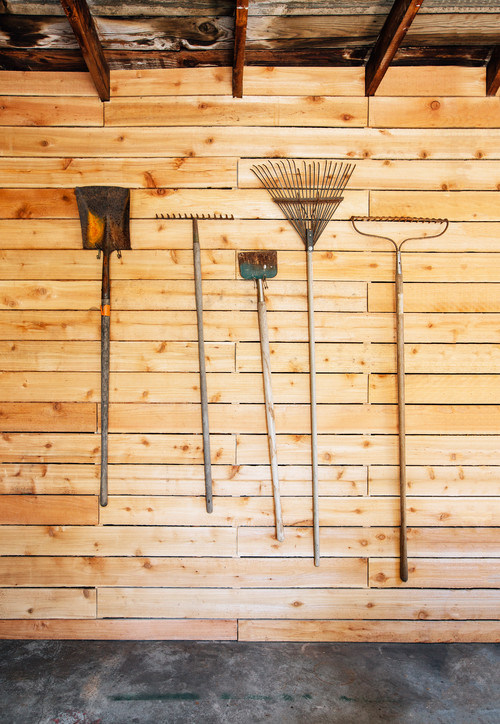
Photo by Crescent Builds
Stop leaning your rakes and shovels against the garage wall where they will all fall down when your kid screeches on their bike! The better way: give these long-stemmed workhorses an entire wall (or part of it). Prop them up with nails or hooks that fit any piece of equipment and your favorite rake will never bend.


